
Joystick dead zones may sound technical at first, but they serve a simple purpose—keeping your aircraft stable when you’re not actively making inputs. Even a slight unintended movement on the joystick can cause the aircraft to drift, especially during approach or cruise. A properly set dead zone acts as a small buffer that filters out these unwanted inputs, helping maintain steady control without constant correction.
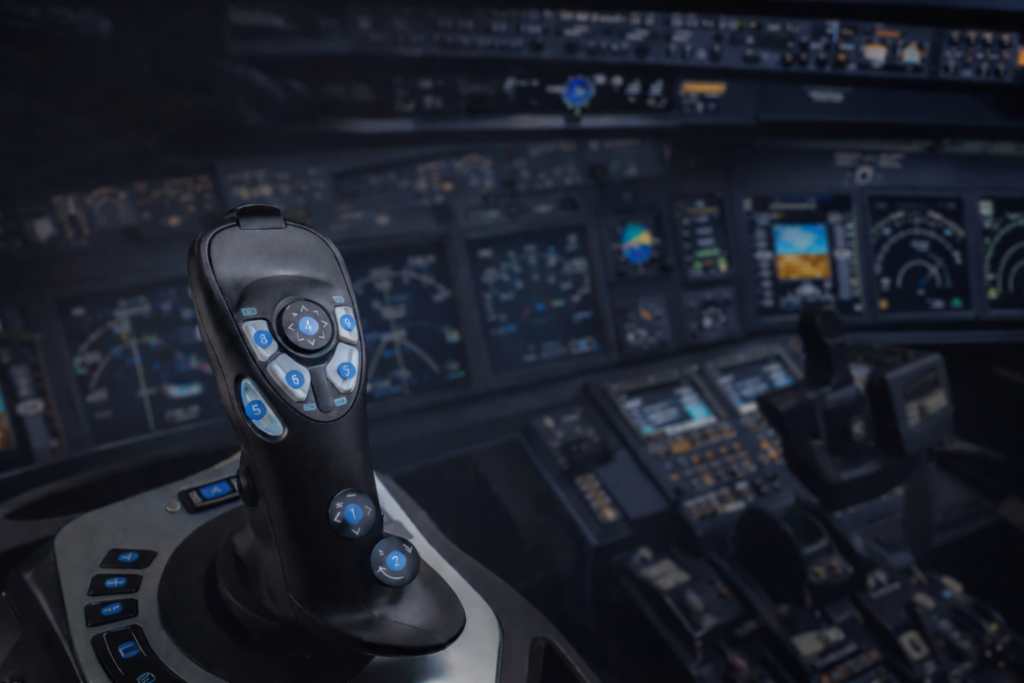
In my setup using a Logitech Extreme 3D Pro, I initially noticed the aircraft drifting slightly to the right even when the joystick appeared centered. After increasing the dead zone gradually, the drift stopped completely without making the controls feel unresponsive. Finding that balance made a noticeable difference during approach, where small corrections matter most.
While it’s great to avoid unwanted aircraft nudging when you’re idle, it raises a classic trade-off scenario. Too much dead zone, and your joystick might feel slow and unresponsive, which isn’t ideal when you’re maneuvering. Too little, and the aircraft could respond wildly to your slightest touch, leading to an unstable flight. The trick? Finding that sweet spot where responsiveness and stability live in harmony.
Fine-tuning these dead zones is about understanding your control style and how your sim behavior echoes that. For starters, test with minimal dead zones and see how it affects your game’s stability. If things feel jumpy or unstable, slightly increase the dead zone until you find that perfect balance. It’s all about embracing experimentation and adapting to how you prefer flying, whether it’s precise aerobatics or smooth cruisin’. You can also explore more advanced control techniques in Improving Your Landings: Techniques & Simulator Practice, where stability and control precision play a major role.
Navigating Response Curves and Sensitivity Tuning

Tuning response curves and sensitivity is what separates basic control from precise handling in a flight simulator. A response curve determines how your physical joystick movement translates into aircraft input, and it rarely works well as a default setting. Adjusting this correctly allows for smoother control near the center while still giving you full authority when needed. You’ve got linear and curved response options. Linear means every nudge results in equal motion, a straight-up 1:1 ratio. In contrast, a curved response allows for less sensitivity at the start, giving you smooth maneuvering as you ease into controls.
Why does this matter? Imagine trying to make minor adjustments during landing. With high sensitivity, the smallest touch can send your plane veering wildly—far from ideal. A well-tuned curve ensures subtle adjustments don’t lead to big jolts, especially near the joystick’s center.
When I started adjusting response curves, I kept the default linear setting at first, but it felt too sensitive during landing. After testing a slightly curved setup with reduced sensitivity near the center, the aircraft became much easier to control during final approach. Small inputs no longer caused sudden movements, which helped maintain alignment with the runway.
That’s crucial for those delicate control movements when you’re flying with precision. If you want a deeper understanding of how control inputs affect aircraft behavior, check out How Aerodynamics Works in Flight Simulators – Beginner Guide.
Finding the right sensitivity setting is more art than science, often involving a bit of trial and error. Start with your response curve type—straight or curved—and tweak those sensitivity levels gradually. Small changes can lead to significant differences, especially when managing the aircraft’s throttle and pitch.
Smooth, precise inputs allow for more realistic simulation experiences and can boost your overall flight performance. Take time to experiment and adjust your settings in test flights to understand how they impact different scenarios. Each aircraft might demand a unique setup, so keep refining. Your goal? Seamless, immersive control that feels like an extension of your thought rather than your hand.
Mastering Axis Configurations: Pitch, Roll, and Yaw
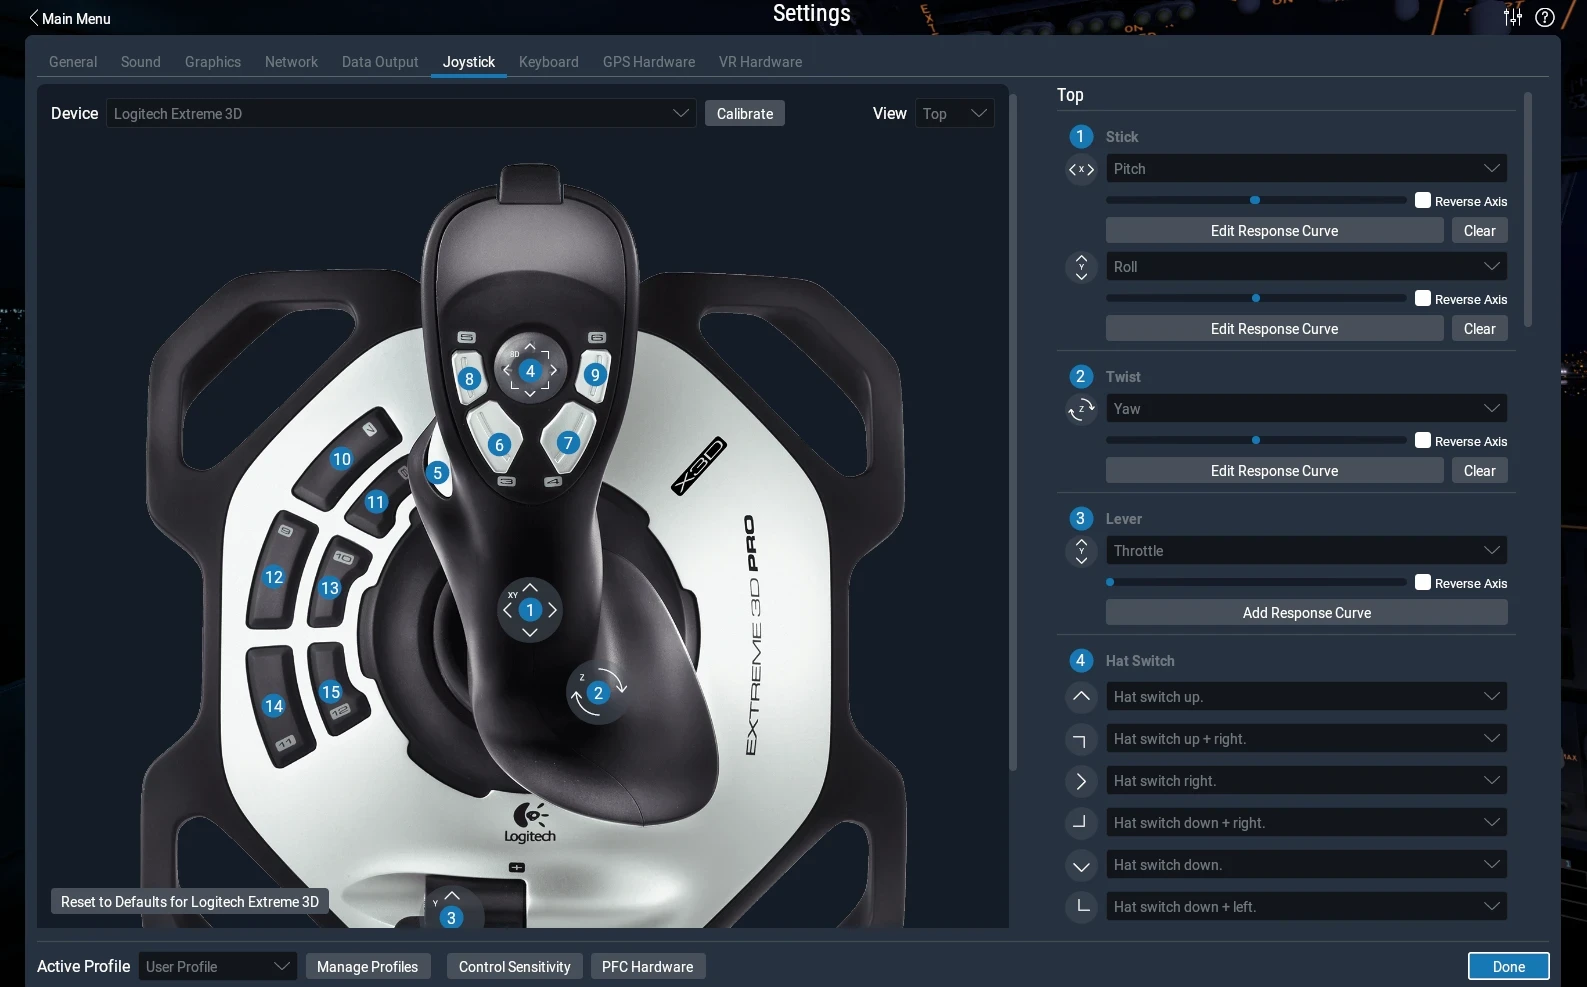
In flight simulation, pitch, roll, and yaw are the core control axes that determine how the aircraft responds to your inputs. Each axis plays a specific role, and understanding how they interact is essential for maintaining control throughout different phases of flight. Each of these axes has its role in controlling the aircraft, and learning how they work is key. Pitch handles the nose-up or nose-down movements, roll takes care of wing tilts, and yaw spins the plane left or right around its vertical axis.
Why do these need their individual tuning? Simple. Different phases of flight call for different control sensitivities. During takeoff, you might need a more assertive pitch, while cruising could benefit from smooth, stable yaw adjustments for maintaining course. Landing is a whole other story, requiring precise coordination between all three axes.
I found that roll sensitivity had a big impact on how stable the aircraft felt during approach. With higher sensitivity, even small inputs caused the aircraft to bank too aggressively. After lowering it slightly and keeping pitch more responsive, the aircraft felt more stable and easier to align with the runway.
You can explore how different flight scenarios impact control behavior in How To Customize Flight Simulator Settings To Your Skill Level.
The trick is in getting each axis just right for your aircraft and flying style. Consider starting with smaller adjustments. Check how changes affect different flight stages. Pitch, for instance, needs more responsiveness during rapid climbs or descents. Roll should respond quickly to bank smoothly, and yaw needs extra attention when keeping a steady path in variable winds.
Tuning each axis isn’t just about control. It’s about giving you that realistic flight feel. Imagine confidently banking into a nice, smooth turn, or gently nosing down for a perfect landing. Striking the perfect balance across all axes offers not just enhanced control but also boosts your overall simulation experience. Test, adjust, and retest—those are your steps to mastering the skies.
The Vital Role of Joystick Calibration
Calibration ensures that your joystick inputs are accurately translated into the simulator. If the device is not properly calibrated, even well-tuned sensitivity and curves can produce inconsistent or incorrect aircraft responses.
At one point, my aircraft kept turning slightly during takeoff even though the joystick looked centered. After recalibrating the joystick, the issue was resolved immediately. It showed how even small calibration issues can affect overall control.
In the flight sim world, uncalibrated controls can make the difference between a smooth flight and a frustrating experience where inputs seem sluggish or wrongly interpreted.
Imagine pulling back on your joystick to ascend, but the response is delayed or more pronounced than expected. That’s the kind of hiccup poor calibration can cause. It becomes even more of an issue when all your finely tuned settings for sensitivity and axis controls don’t behave as intended due to mismatched calibration.
Regular calibration is like getting a check-up for your joystick. Any time you notice drifting, a lack of sensitivity, or erratic behavior, it’s a good indicator that revisiting calibration might help. Calibrating involves setting the range of motion for your joystick, ensuring that when you push left, your aircraft responds proportionally and accurately.
Don’t just set and forget. Flight simulators evolve, and so does your hardware’s performance over time. Making calibration a regular part of your flight sim routine ensures that all your configuration work pays off, giving you smooth, precise control that feels true to life every time you hit the virtual skies. For full setup guidance, see How To Set Up Your First Custom Flight Simulator – Complete Setup Guide.
Advanced Strategies: Button Mapping and Profile Creation
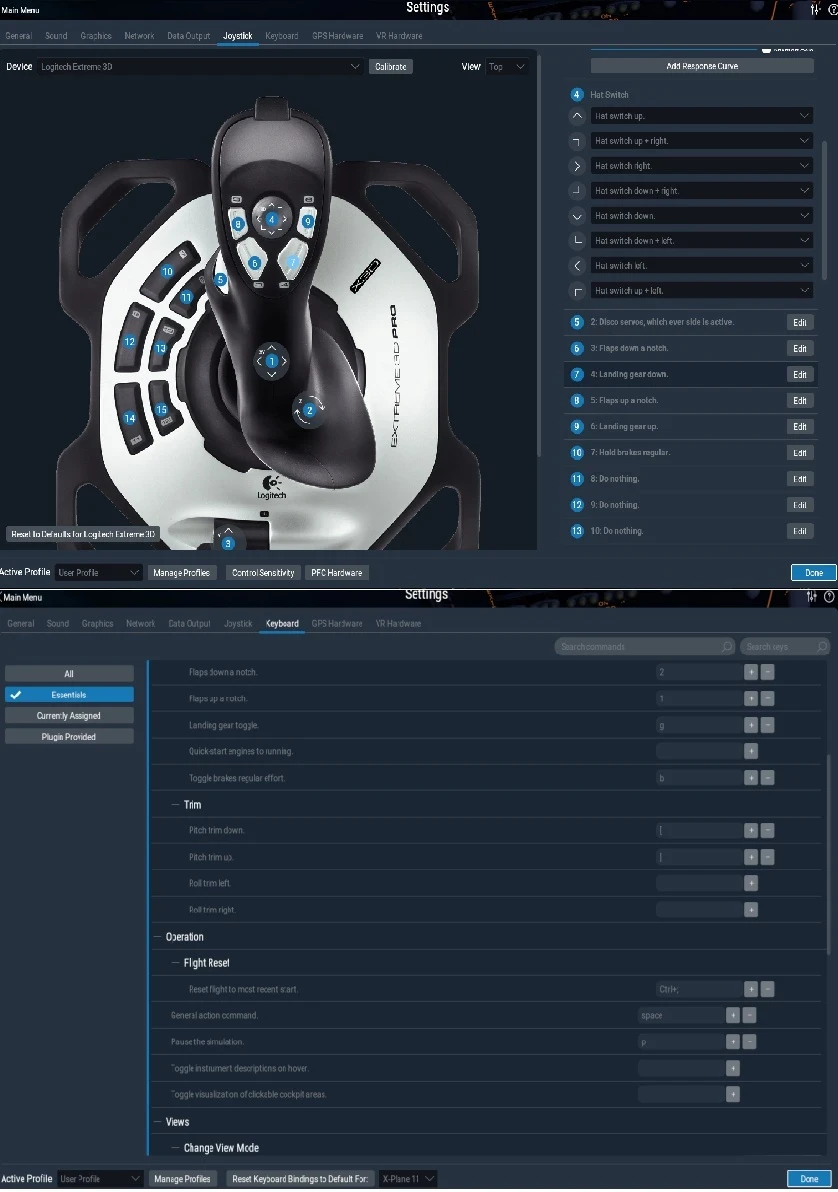
An efficient control setup plays a major role in how smoothly you can operate the aircraft. Proper button mapping reduces the need to rely on the keyboard and allows you to access important controls quickly without breaking focus during critical moments.
Mapping key controls like brakes, flaps, and trim directly to the joystick made a big difference in my workflow. Instead of reaching for the keyboard, I could keep my focus on the approach and landing, which made the overall experience smoother and more immersive.
Button mapping is all about convenience, reducing the need to reach for the keyboard and keeping your focus squarely on the skies. By strategically assigning buttons to essential controls, you streamline operations like gear changes, flaps adjustments, or even critical emergencies without taking your eyes off the virtual cockpit.
Every aircraft has its unique control requirements, which means a one-size-fits-all button layout just doesn’t cut it. Crafting specific profiles for different aircraft types—say, one for a nimble single-engine plane and another for a complex airliner—can make a huge difference. Transitioning between these profiles should be seamless, allowing you to switch gears mentally and technically without hassle. If you’re comparing control setups, you might also find Understanding Yoke vs Joystick: Which Flight Simulator Control Is Right for You? helpful.
Being adaptable with your button configurations increases in-flight responsiveness and realism. Once you’ve mapped out your basic controls, explore adding comfort features, like a button for retractable landing lights or autopilot toggles, tailored to what you use most frequently. This setup cuts reaction times and boosts immersion when flying.
Ultimately, by investing time into creating thoughtful button maps and profiles, you’re tailoring your flight sim experience, maximizing efficiency and realism. Test these configurations extensively, and don’t hesitate to refine them as needed. Keep adapting, and you’ll find yourself operating more like a real-world pilot—quick, efficient, and always ready for whatever the sky throws your way.
✈️ Conclusion: Fine-Tuning Your Joystick for Better Control
Custom joystick configuration isn’t just about adjusting a few sliders—it’s about building a control setup that feels stable, responsive, and consistent across different flight situations. From dead zones and response curves to axis tuning and button mapping, each adjustment plays a role in how your aircraft behaves and how confident you feel during critical phases like takeoff and landing.
Even small changes can make a noticeable difference. A slight tweak in sensitivity or dead zone can turn unstable handling into smooth, predictable control. That’s why taking the time to test, adjust, and refine your setup is worth it. Many simulators include these tuning options specifically because hardware varies and no single default works for everyone .
As you continue improving your setup, focus on consistency. The goal is not just realism, but control that feels natural and reliable every time you fly.
If you want to take your flight simulation experience further, explore more guides and tools on Flight Sim Essentials.
You’ll find step-by-step tutorials, setup tips, and practical techniques to improve control, performance, and overall realism. And if you’re looking to upgrade your hardware, check out Best Flight Simulator Joysticks Under $300 (2026) – Top Picks You Can Buy Today, where you’ll find reliable options that balance performance, build quality, and customization.