
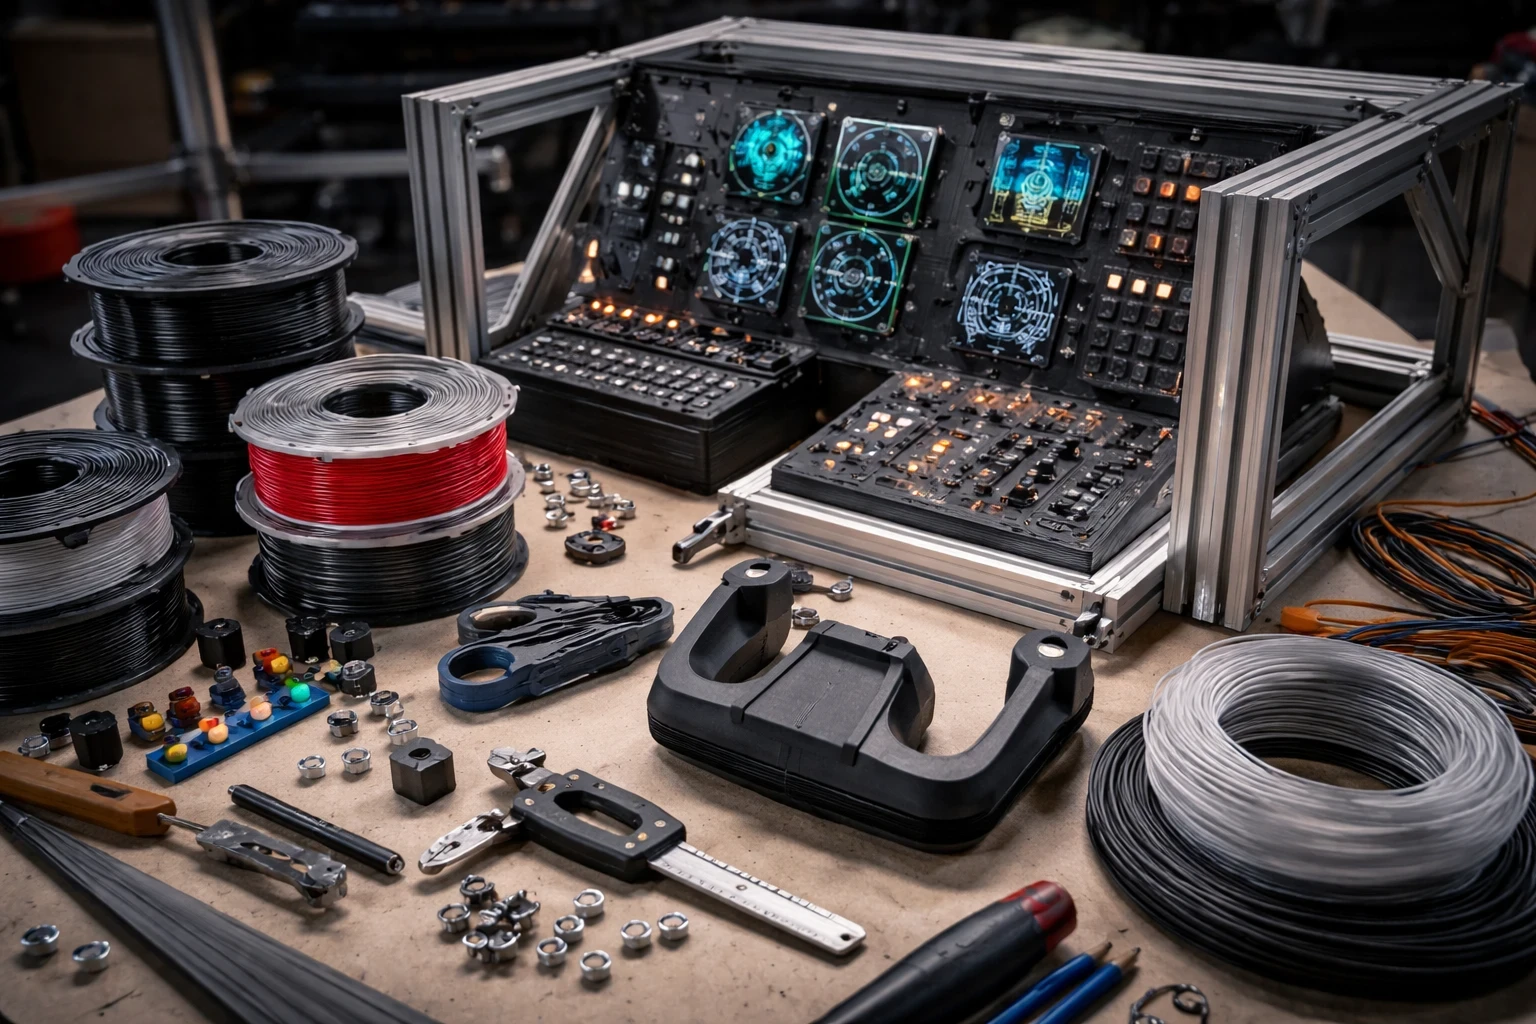
3D printing’s made waves in the sim world, and it’s not just about making cool knick-knacks. It’s about laying down real, functional parts. PLA is the go-to for those getting their feet wet, especially for crafting switch panels or button arrays. It’s cheap, easy to use, and good for the basics. But, if you’re aiming for more complex builds like a gripping yoke that won’t crack under pressure, ABS is the material to lean on. It’s tougher, though takes a bit of finesse when printing. Trust me, it’s worth the effort when that realism kicks in, gripping your DIY creation. If you’re planning a full setup, it helps to understand how these parts fit into custom flight simulator hardware for realistic builds.
Now, PETG strikes a sweet spot between ease and durability – great for when you’re designing custom panels or knobs that need to endure a little more man-handling. A typical workflow might involve sketching out a full dashboard, running an overnight print, and finishing it with minor adjustments to get a clean result. Sure, it’s forgiving in a way ABS isn’t, but the glossy finish? That’s the real win!
Cost, realism, and complexity—three forces locked in an endless dance with 3D printing. Go big with ABS or find your simple wins with PLA. It’s all about what you’re comfy fiddling with and how far your wallet can stretch. But remember, take baby steps if needed, and soon you might just take the plunge on a spicy CNC router! For deeper DIY techniques, your guide on upgrading your simulator with 3D printing is a perfect next step.
For beginners exploring forums and community builds, starting small is usually the best approach. The sim community’s bustling with builder experiences, and folks are kinda awesome at helping out when you hit the classic ‘why isn’t this working?’ snag. If you’re new, it also helps to read a step-by-step flight simulator beginner guide before diving into custom builds. So pick those brains, share the fails and wins, and soon you’ll have your sim setup screaming of your handiwork.
Reflecting Reality: Harnessing Acrylic for Simulated Flight Environments
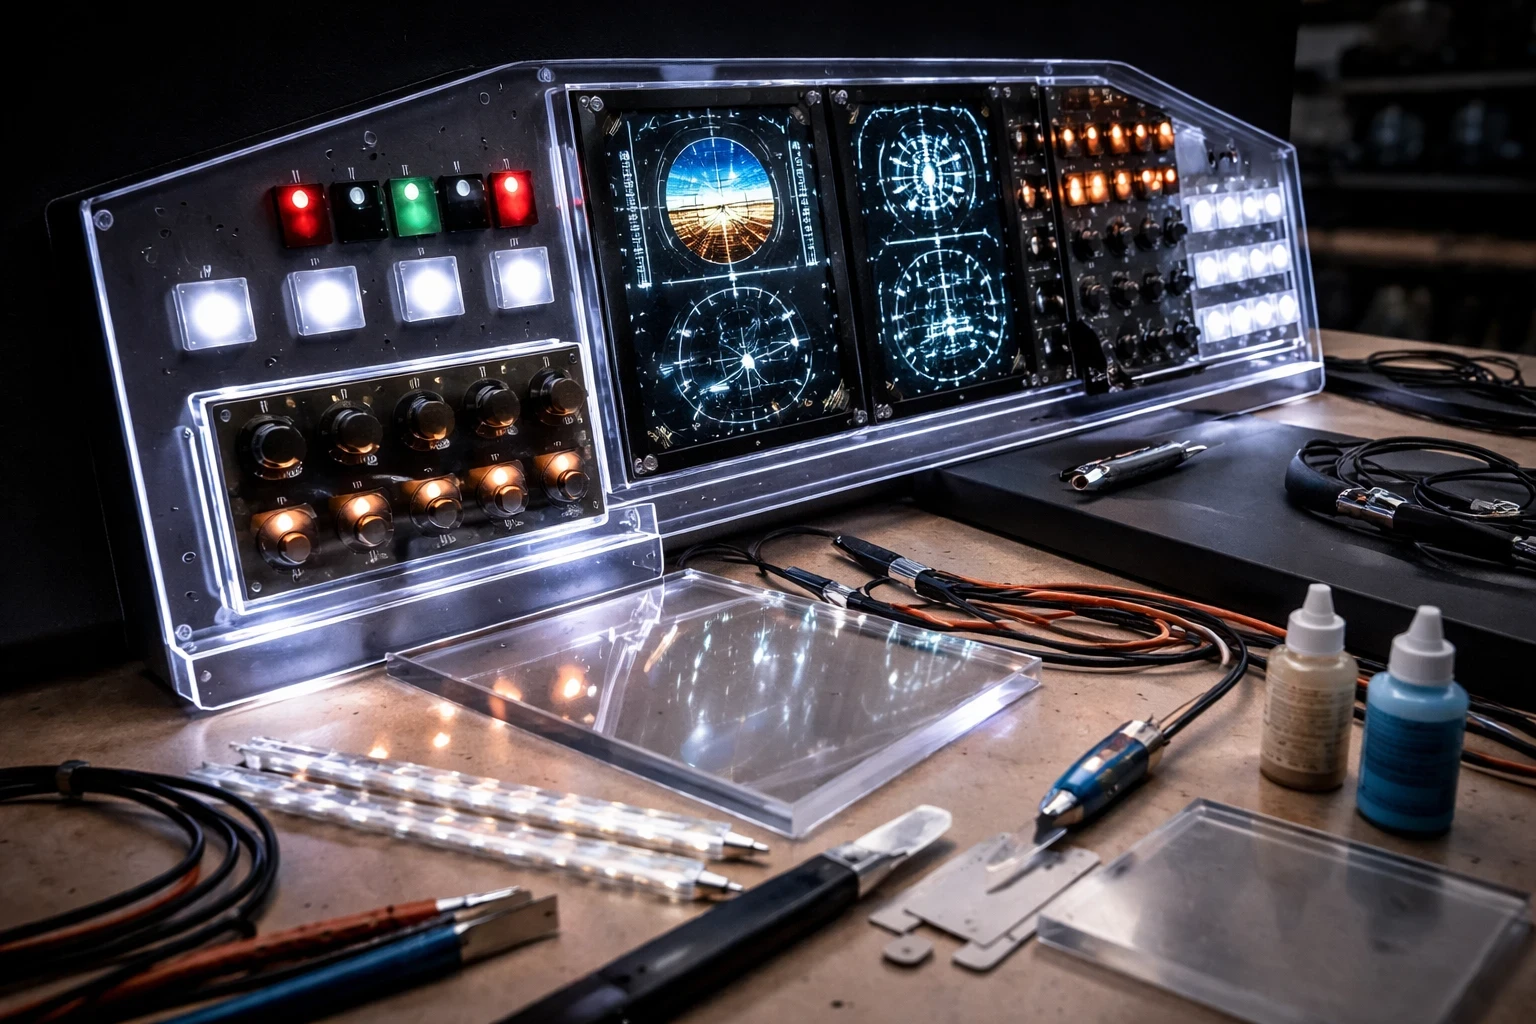
Acrylic is like the secret sauce for backlit panels that look chic without breaking the bank. It’s a favorite for crafting instrument displays and gauge covers that feel just right. The beauty of acrylic lies in its ability to light up your cockpit with ease, turning a plain setup into a vibrant flight deck – especially when paired with tools like Air Manager for digital instrument displays.
Getting those precise cuts, especially for detailed gauge covers, isn’t as daunting as you’d think. Local laser cutting services are a godsend, letting you focus on the finish rather than sweating the details. If you’re curious about how laser cutting works in detail, resources like this guide to laser cutting can help you understand the process better. The setup cost sits in the medium range but packs tons of visual enhancement. For those after a sophisticated glow, this material offers a payoff that resonates with authenticity.
If you’re teetering between acrylic and 3D printed panels, consider this: acrylic brings class and clarity, capturing light in a way plastic might struggle with. Switching from a printed panel to an acrylic one can significantly improve how backlighting is diffused and displayed. It added an unexpected magic to night flights.
For a DIY project, sourcing acrylic sheets from your local hardware store can be pretty cost-effective. A simple backlit panel can be built using an acrylic sheet, basic LED lighting, and careful assembly. If you’re combining panels with controls, check out custom cockpit panel building techniques to refine your layout.Remember: layering is key with acrylic. Mess up on the adhesives, and you’ll get odd bubbles where none should exist.
Watch out for gluing issues. Acrylic needs a delicate touch. Click the pieces together, nearly like a puzzle, and make sure those finishing touches don’t turn into a sandpaper slogfest. Luckily, plenty of tips exist online for avoiding those pitfalls, and with a bit of grit, your cockpit can shine like the pros’.
Reaching New Heights: Structuring with Advanced Materials like Carbon Fiber & Aluminum
When you’re ready to take your sim build from average to stellar, aluminum extrusion and carbon fiber are the movers and shakers you need. Aluminum is the backbone you can count on for building sturdy, lightweight frames that give your cockpit a firm hug without making it wobble—or your wallet scream. It’s a significant upgrade and can be well worth the investment when building a structure that remains stable under heavy use —especially when following a structured approach like building a DIY home cockpit step by step.
Carbon fiber is often considered a “premium upgrade” for more advanced sim builders. Perfect for those high-stress areas like joystick and throttle mounts. For a deeper look at why carbon fiber is used in high-performance applications, you can check this overview of carbon fiber properties. If you’ve ever experienced handle flex mid-landing, you’ll appreciate the extra ruggedness. But fair be told, working with carbon fiber can be a tricky dance. It’s an investment both in cash and effort—a true arena for the advanced and brave.
Aluminum gets a moderate thumbs up on the difficulty scale. It’s relatively straightforward to cut and assemble, a kind of grown-up version of building with LEGOs. Combining aluminum and carbon fiber can create a balanced structure, offering both strength and reduced weight for components like throttle mounts. It was labor-intensive, sure, but the result stood as reliable as a tank.
For those environmentally inclined, aluminum’s a winner because it can be recycled, making it a sustainable option. Both materials can sometimes feel elusive to source at a reasonable price, so always tap the community channels for tips or wholesale snags.
A key takeaway? Aim for smart, strategic use of these materials in your build. Reserve the carbon fiber for those stress points and play to aluminum’s rigging strength. This tactical mix offers sleek functionality without unnecessary cost spikes. And remember, there’s joy in the journey as much as the destination—a mindset that’ll see you through the complexities of advanced sim crafting.
Foam and Fiberglass: Crafting Detailed Simulations on a Budget
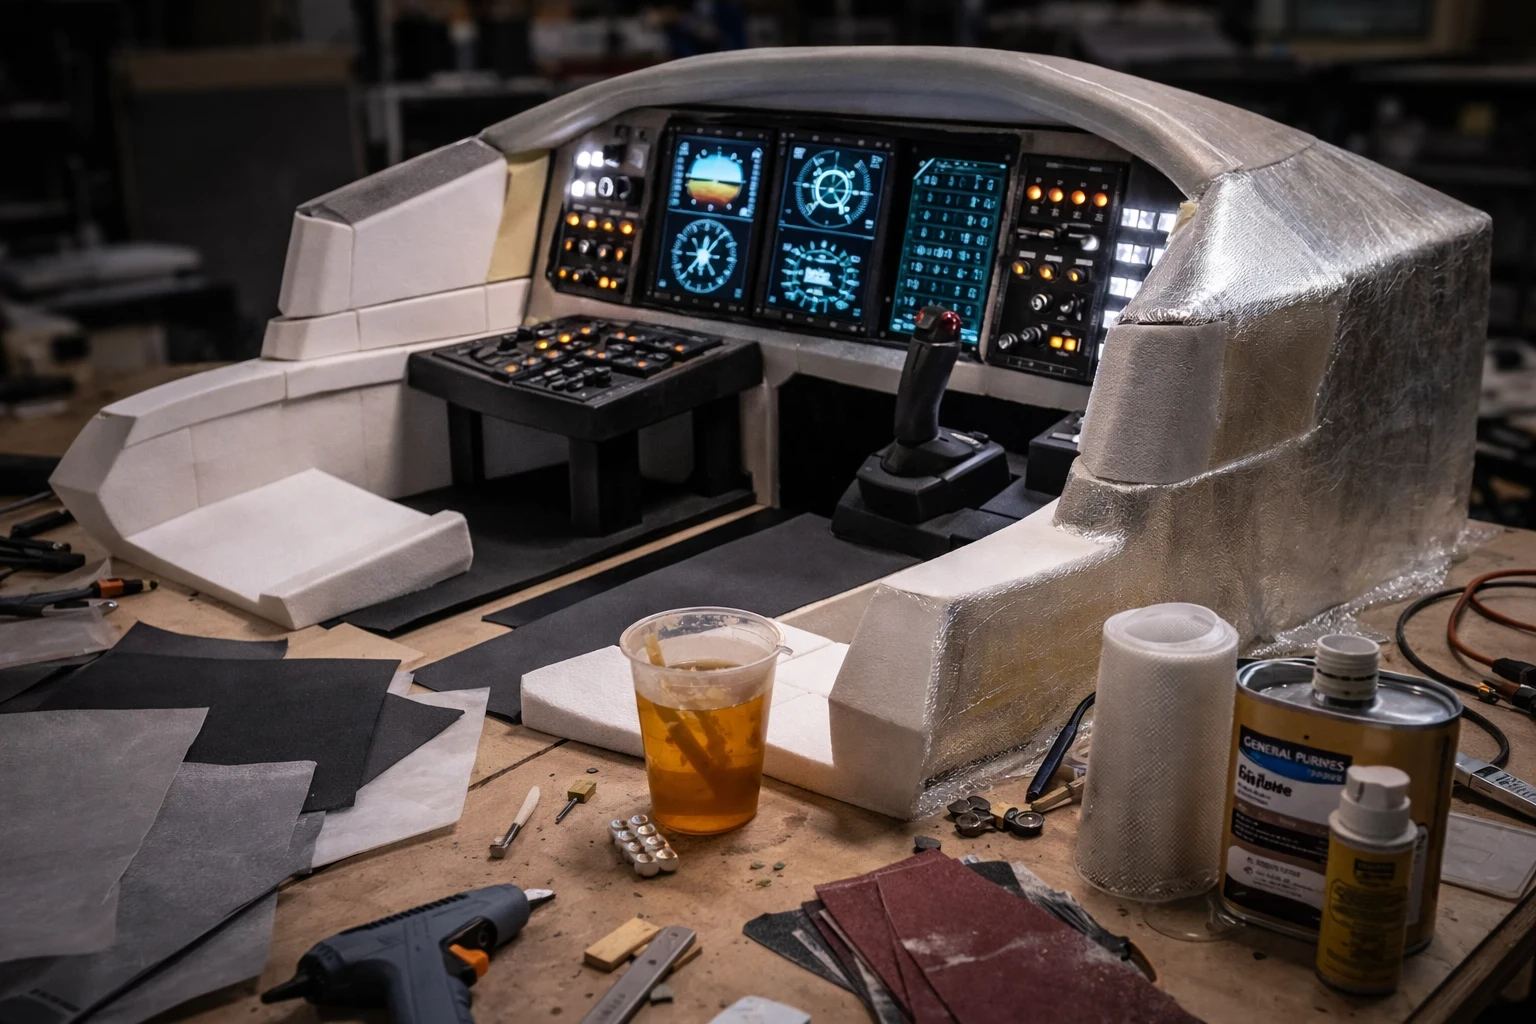
Foam board and EVA foam are commonly used when drafting cockpit shells—or just about anything when I need to test a design on the fly without dishing out too much cash. These foams are seriously flexible, allowing quick prototyping that’s both simple and light on the pocket.
Working with foam is like sculpting for those who don’t want to break the bank. You’ve got the basic crafting toolkit ready to shape a near-complete cockpit outline. Its ease of use lands squarely in the ‘easy’ box, making it perfect for beginners itching to bring their flight sim visions to life.
Here’s where fiberglass swoops in for the rescue. Sure, it’s a step up in complexity, but it provides that necessary sturdiness to our friendly foams. When layered over foam structures, fiberglass adds a protective shell making the cockpit durable and life-like—the perfect match for those simulation enthusiasts looking to tread softly but carry on a big piece of tech. If you’re new to fiberglass work, guides like how to use fiberglass can walk you through the basics.
In many DIY builds, a foam shell is coated with fiberglass to improve strength and durability. The process required an extra dose of patience, especially in letting each layer dry thoroughly. But the outcome was a cockpit that stood the test of time without trembling at turbulence.
One pro-tip: Seek a balance between cost and realism. Foam keeps the bills low, but the fiberglass does the muscle work. It’s all about finding your harmony between budget and immersion. When you’re gluing the layers, ensure even spreads; otherwise, you’ll end up with bubble-speckled surfaces. Online communities are treasure troves of wisdom here—so don’t hesitate to dive in for shared pro-tips and camaraderie.
Tech Fusion: Enhancing Simulators with Touchscreens, Tablets, and Hybrid Systems
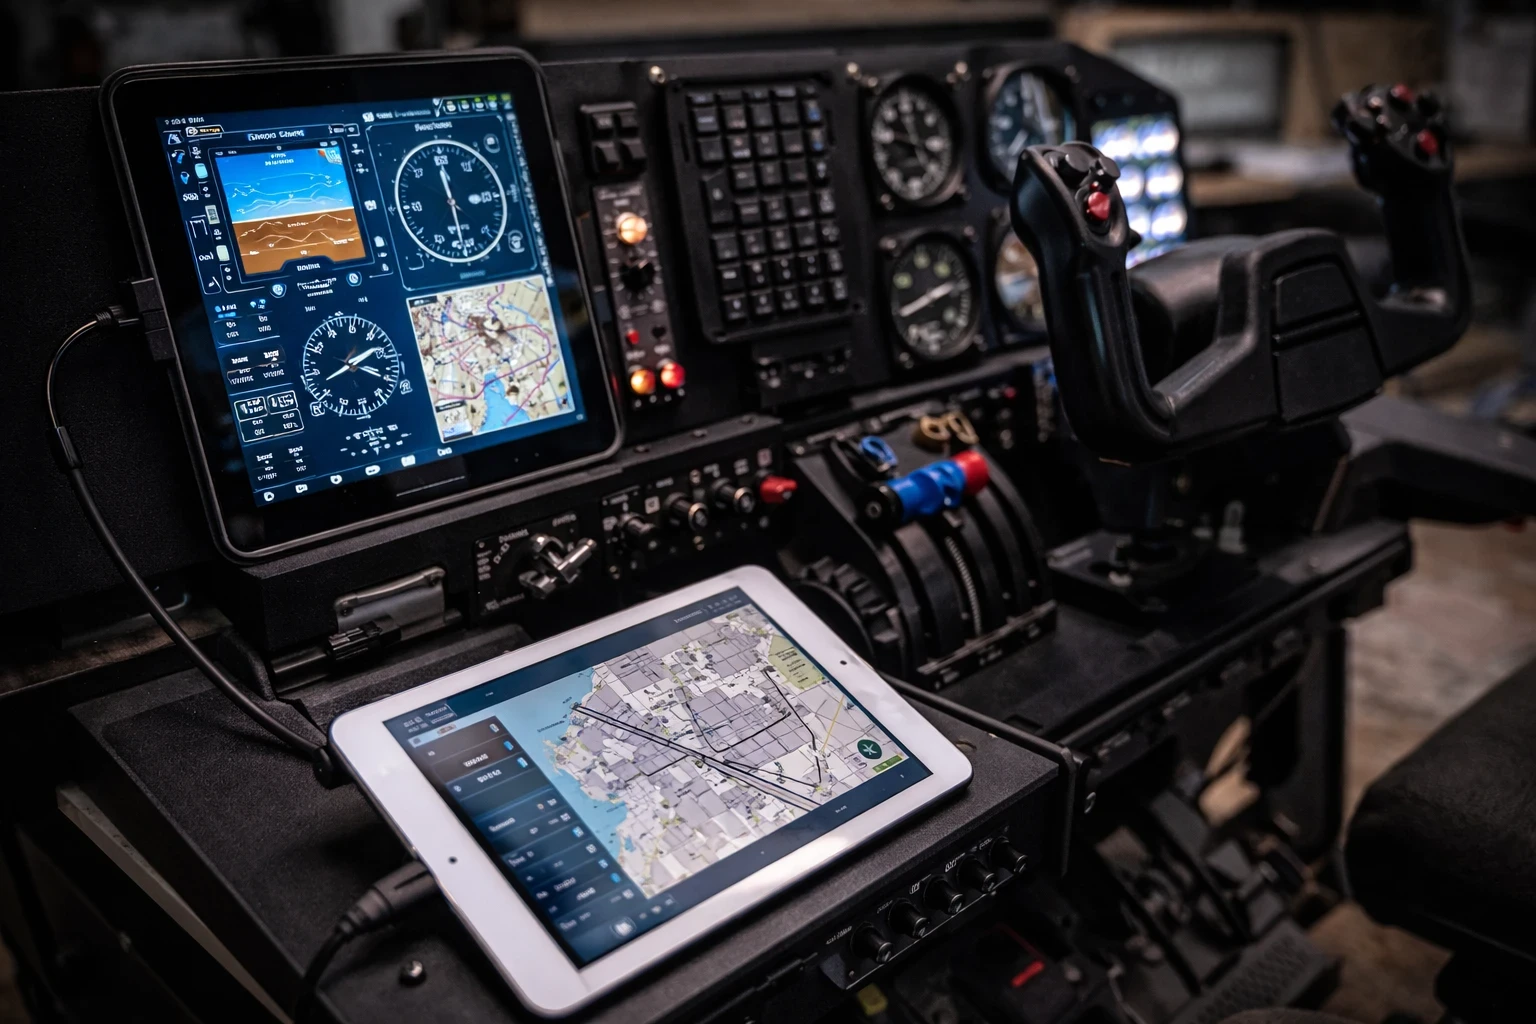
The era of sketchy instrument readings is over, thanks to the magic of touchscreens and tablets. These digital panels offer unparalleled interactivity and precision, often dropping the complexity of traditional systems. Hooking up a tablet in your cockpit means a lower upfront cost, though the endless app possibilities are where the real value blossoms. Imagine smooth, pinch-to-zoom navigation right in the middle of a twilight landing—a game-changer, right?
Raising the stakes with real aircraft parts can add layers of authenticity, even if you have to comb through scrap yards or online marketplaces. Someone’s old yoke might just be the crown jewel in your simulator setup. It’s a splurge, though, and integrating salvage components demands more than just a weekend’s worth of time.
Hybrid builds often combine digital panels on tablets with physical controls and levers to create a more immersive experience. It wasn’t just a cool tech trick but added layers of depth to the simulation that felt familiarly tactile. The fusion of digital and traditional means finding that slick operating rhythm that moves as naturally as a trained pilot.
Comparing hybrid setups to fully digital ones, you’re looking at a weighted dance of immersion. The digital gadgets are nice, but feeling those tangible controls under your fingertips? That’s where you get sucked into the experience entirely. This balance often becomes a personal artistic statement—the kind of mix really hinges on what your sim-related heart desires.
As builders anticipate the ongoing march of tech, spotting digital and analog components crossing paths isn’t just practical—it’s inevitable. It’s crucial to think about how you’ll integrate future upgrades into your layout, keeping that look and feel as dynamic as what’s currently possible. Whether you’re jazzed about touchscreens or the grit of real knobs, remember to bask in the learning curve—it’s all part of the ride.
🧭 Choosing the Right Materials for Your Build
Building a custom flight simulator isn’t just about hardware—it’s about choosing the right materials that match your goals, budget, and skill level. From 3D printing and acrylic panels to aluminum frames and hybrid digital setups, each option offers a different balance of realism, cost, and complexity.
The key is to start simple, experiment with what works, and gradually refine your setup over time. Many of the best cockpit builds come from small upgrades and smart material choices rather than trying to do everything at once.
👉 To continue improving your setup, explore more guides on Flight Sim Essentials covering hardware, DIY cockpit builds, and budget-friendly upgrades to help you build a more immersive flight simulation experience.